
Installers: How Many Pixels Per Port Is Safe, Using Universe Math

Controller manufacturers often quote 512 or 1024 pixels per port as a hard maximum, but that number describes hardware capacity, not a working setup. Your actual limit depends on three things you need to check before you plan a prop: channels per pixel, how many DMX universes each port carries, and how much data your controller can push at your target frame rate. Plan conservatively, then test.
Why absolute per-port limits exist: channels, universes, and port mapping
Every pixel on your display needs its own set of control channels. An RGB pixel uses 3 channels, one each for red, green, and blue. An RGBW pixel needs 4, adding a dedicated white channel. This channel count is the starting point for every calculation you will make about ports, controllers, and universes.
Those channels travel over DMX universes, and each universe has a fixed data ceiling. A standard 8-bit DMX universe carries 510 or 512 channels total, depending on how the controller reserves channels. Divide that ceiling by your channels per pixel and you get the pixel count a single universe can hold: 170 RGB pixels or 128 RGBW pixels per universe.

Physical ports do not carry just one universe. Controllers group multiple universes onto a single output, which is why you will see per-port maximums that look like odd multiples rather than round numbers. A port rated for 680 pixels, for example, is really carrying four RGB universes stacked together (4 times 170). Once you see the port limit as a stack of universes rather than a single spec number, the math behind every controller datasheet starts to make sense.
A few things follow directly from this structure:
-
Pixel type changes your budget. Switching from RGB to RGBW props on the same universe count cuts your usable pixels by roughly a quarter, since each pixel now needs 4 channels instead of 3.
-
Universe count, not port count, is the real currency. Two controllers with the same “max pixels per port” spec can behave very differently if one packs more universes per port than the other.
-
Port limits are rarely arbitrary round numbers. They are almost always a clean multiple of 170 (RGB) or 128 (RGBW), which tells you how many universes the manufacturer allocated to that output.
Knowing this before you shop for a controller or plan a prop layout saves you from assuming a port spec means more headroom than it does. It also explains why two props with the same pixel count can need different numbers of ports, depending on whether they are wired RGB or RGBW.
Controller port specs: manufacturer maxima vs recommended operating values
Manufacturer datasheets tend to list two different numbers, and mixing them up is one of the most common planning mistakes hobbyists make. The “maximum” figure is the hardware ceiling: the most pixels a port can physically address given its universe allocation and firmware. The “recommended” figure is lower, and it reflects the pixel count the controller can drive reliably at a usable frame rate with a specific pixel IC.
One example controller manual illustrates this well: it lists a maximum of 1024 pixels per port in one IC mode, but recommends staying at or below 512 for a different mode. Depending on how you configure the outputs, that same hardware can be described as supporting several thousand pixel points across four ports at maximum, or roughly half that at the recommended setting. Reading only the headline “1024 px/port” spec without checking which mode it applies to is how installers end up overloading a port that looked fine on paper.
Before you commit to a controller for a specific prop, check these details rather than the single largest number in the marketing copy:
-
Which IC and mode the maximum applies to. Some pixel chips (like those supporting differential or parallel data modes) allow higher counts than others on the same physical port.
-
Whether the recommended limit is stated separately. If a datasheet gives only one number, treat it as the ceiling, not your working target.
-
How many universes are allocated per port. This tells you the real math behind the pixel figure and lets you compare controllers on equal footing.
A controller like the Baldrick 8 Port Controller is a useful reference point here: knowing its per-port universe allocation up front lets you calculate exactly how many pixels of a given type each output can carry before you ever plug in a single string. Checking both numbers, maximum and recommended, before you buy is the difference between a controller that fits your prop and one that gets pushed past its comfortable operating range on opening night.
Performance constraints: fps, bandwidth, and practical pixels-per-port guidance
Channel math tells you what a port can theoretically address. Frame rate tells you what it can actually push without stutter, color drift, or dropped pixels. Every frame of your show has to carry the full channel data for every pixel on that port, and higher pixel counts mean more data has to move in the same slice of time. Push the pixel count too high for your target fps and the controller either drops frames or falls back to a slower refresh, which shows up as visible lag on fast-moving sequences.
This is why real-world usable pixel counts per port are almost always lower than the datasheet maximum, and why the right number depends heavily on how fast your show needs to run:
-
High-fps displays (matrix effects, chases, fast music sync): target roughly 100 to 300 pixels per port. Fast sequences need every frame to land on time, so leaving headroom matters more than squeezing in extra pixels.
-
Moderate-fps displays (standard house outlines, most RGB string props): 300 to 700 pixels per port is workable on many controllers, depending on the IC and firmware mode.
-
Static or slow-fade elements (color wash, ambient accents): you can often run closer to the datasheet maximum, since slow transitions demand far less data per second.
These ranges are starting points, not guarantees. The right number for your setup depends on your controller’s actual throughput, so always confirm with a real playback test rather than trusting a single rule of thumb across every prop on your display.
Pro Tip: Build your test sequence at the exact fps you plan to run on show night, not a lower preview rate, since throughput problems that are invisible at 20 fps often appear clearly at 40.
Worked calculations: converting pixels to channels to universes and distributing across ports

Once you know your pixel type and count, the universe math is the same formula every time: required universes equal the ceiling of (total pixels times channels per pixel) divided by channels per universe. Use 510 or 512 as your universe channel ceiling and 3 or 4 as your channels per pixel, depending on whether you are running RGB or RGBW.
Two examples show how this plays out on a real prop:
-
1,000 RGB pixels. Channels needed: 1,000 times 3, which is 3,000. Universes needed: 3,000 divided by 510, rounded up, which comes to 6 universes. Using the 170-pixels-per-RGB-universe guideline, that same math checks out directly: 1,000 divided by 170 rounds up to 6 universes. Spread across an 8-port controller, that prop could sit on 2 ports at 3 universes each, or spread thinner across more ports if your fps target calls for lower pixels per port.
-
500 RGBW pixels. Channels needed: 500 times 4, which is 2,000. Universes needed: 2,000 divided by 512, rounded up, which comes to 4 universes. Cross-checking against the 128-pixels-per-RGBW-universe figure gives the same result: 500 divided by 128 rounds up to 4 universes. That prop fits comfortably on a single port carrying 4 universes, or across 2 ports at 2 universes each if you want more fps headroom.
Notice that both examples land on the same universe count whether you calculate through raw channels or through the pixels-per-universe shortcut. That consistency is what makes universe-based planning portable across different controllers and pixel types: the constants (170 and 128) already have the channel math built in, so you rarely need to touch DMX channel totals directly once you have them memorized.
Symptoms and prevention: signal integrity, wiring, and power near the limit
Exceeding a port’s real capacity rarely fails cleanly. Instead, you get flicker on fast sequences, colors that shift or wash out toward the end of a long run, or entire sections of a prop that go dark partway through a show. Those symptoms look identical to power or wiring problems, which is why diagnosing an overloaded port often takes longer than fixing it.
Voltage drop, poor grounding, and excessive spacing between power injection points cause the exact same symptoms even when you are nowhere near your per-port pixel limit. A prop running well under its universe budget can still flicker if the far end of a long pixel run is starved for voltage, so ruling out wiring issues before you assume a port is overloaded saves a lot of wasted troubleshooting time.
A few wiring habits keep both problems in check:
-
Inject power at regular intervals along long pixel runs rather than relying on a single feed point at one end.
-
Use a data booster or level shifter on runs beyond the data signal’s reliable range, since weak data signal causes the same color glitches as an overloaded port.
-
Check IC timing and termination if you are mixing pixel types or brands on the same run, since mismatched timing specs can corrupt data even on a lightly loaded port.
Pro Tip: When a section of your display misbehaves, swap its data feed to a known-good port before touching the wiring. If the problem follows the pixels, it’s power or a bad connection. If it follows the port, it’s a capacity issue. For a closer look at how these signal and power issues show up on real installs, see our guide to how outdoor LED grids function.
How the EZRGB platform helps you plan safe pixel loads
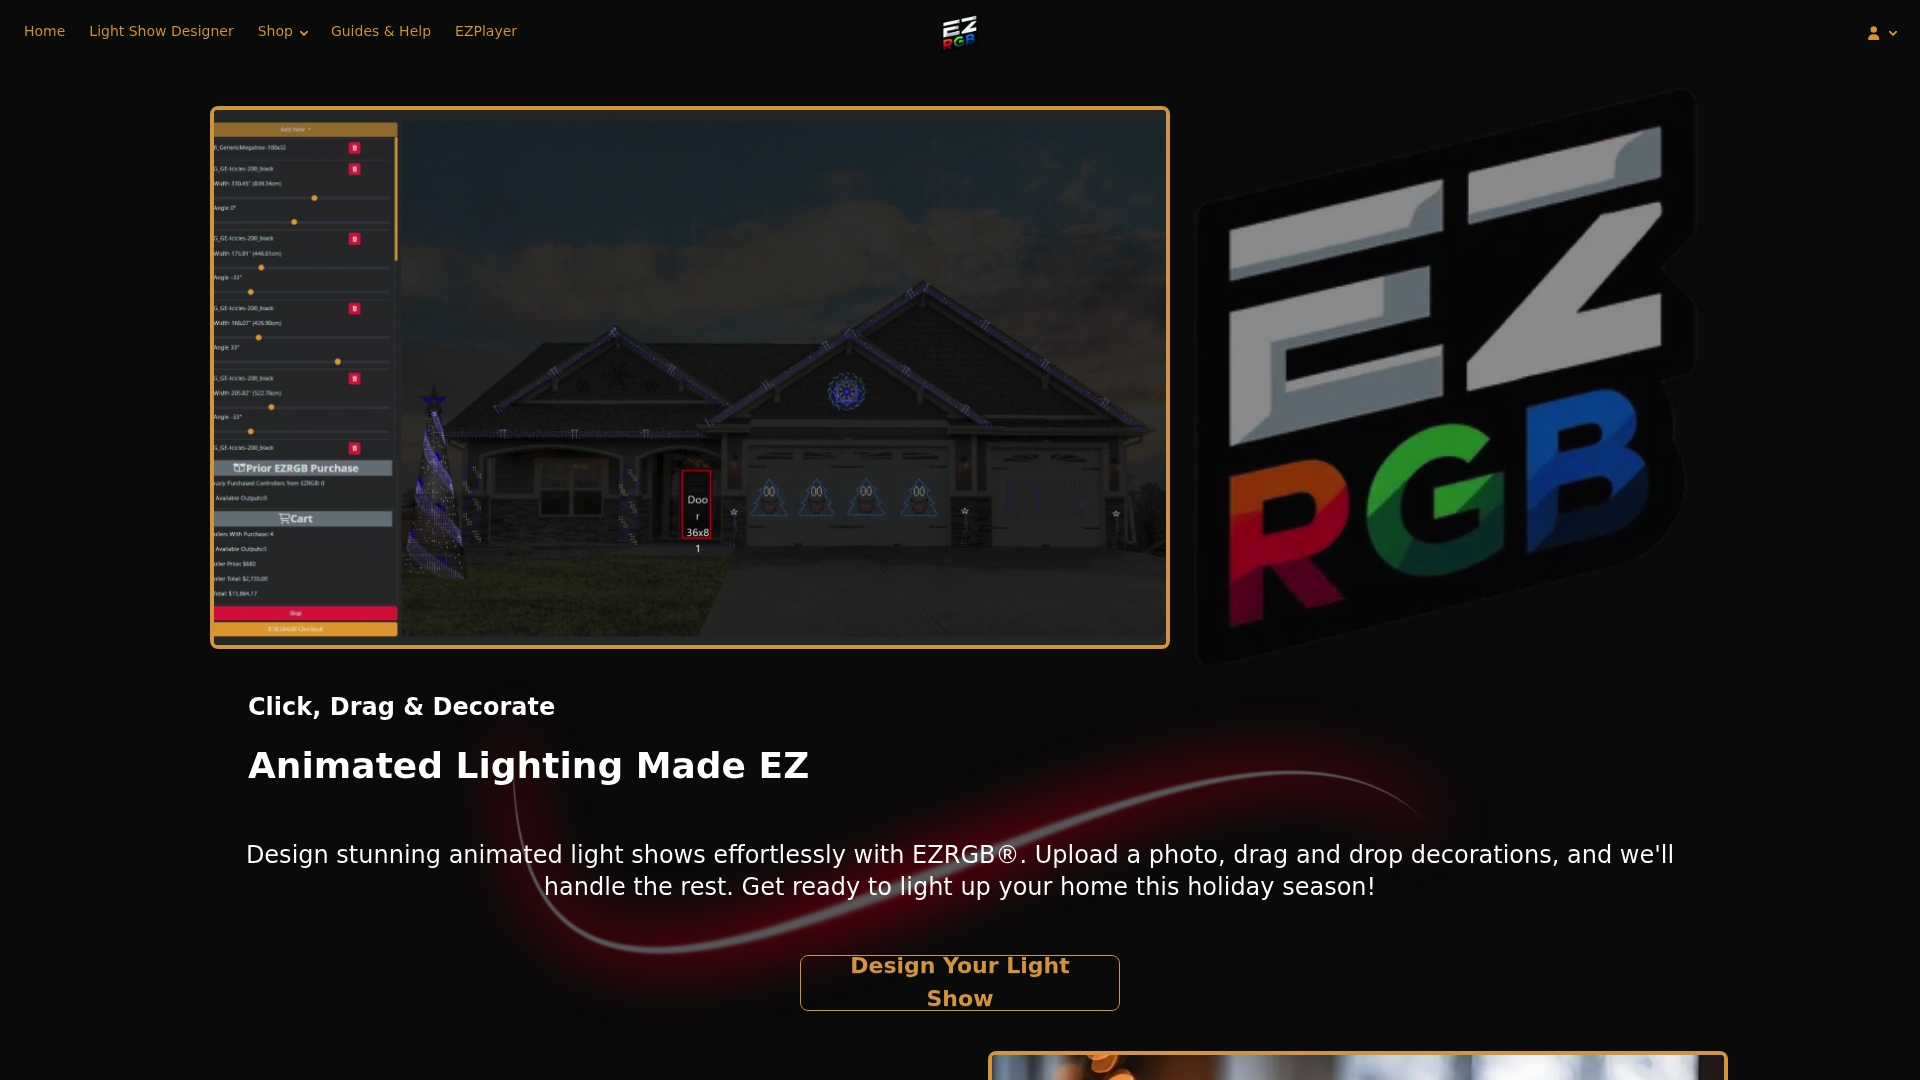
The EZRGB layout designer lets you map each prop to its ports and universes before you buy a single controller. Upload a photo of your home, drag your props into place, and the designer tracks pixel counts against your chosen fps so you can see your budget before wiring day rather than after.
Controllers like the Baldrick 8 Port Controller come with known universe allocations per port, which removes the guesswork of matching a prop’s pixel count to the right output. Once your layout is set, EZSequence generates a show sequence built for your specific fps target, and EZPlayer lets you schedule, sync, and test that sequence over the website before it ever runs live on your house. That means the fps decision you made during planning carries all the way through to opening night, rather than getting discovered as a problem after installation.
Prioritize reliability over squeezing in every pixel
Pushing a port to its rated maximum rarely buys you much and it makes troubleshooting harder every time something goes wrong. A display running comfortably under its budget is easier to diagnose, easier to expand, and far less likely to embarrass you halfway through a song.
Our advice is simple: test your actual show sequence at your final fps on site, confirm power at the far end of every run, and start conservative. You can always add pixels or ports once a season of real playback proves the setup holds up. Building in that headroom from the start is cheaper than rewiring a prop in December.
Get a controller and kit built for straightforward pixel planning
Skip the trial and error of matching pixel counts to ports by starting with a kit designed to fit together correctly from the first plug-in. Our Plug and Play Kits arrive with preinstalled pixel lighting and a controller already matched to the prop’s pixel and universe count, so you are not calculating channel math on your porch in the cold.
If you already own a controller and want an output you know behaves predictably, the Baldrick 8 Port Controller gives you documented per-port universe allocation from the start. Browse the kits, drop your layout into our design tool, and let EZSequence build a sequence tuned to the fps your ports can actually handle.
Primary sources for this guide
-
ENTTEC’s pixel tape guide: universe and channel math for RGB and RGBW pixels.
-
K-4000C controller manual: example of maximum versus recommended per-port specs.
Sources
FAQ
Is 1 pixel 1 byte?
Not in RGB pixel lighting. Each pixel typically needs 3 bytes of data for RGB (one per color channel) or 4 bytes for RGBW, since each channel is an 8-bit value.
